
If you’re looking at changing the levers on your ride, you probably either want a different look or you need a better hand position. When I started looking at levers for my wife’s pride and joy Sportster 1200, I had to find something that would allow her to reach out and grab them better than the stock pieces would. As it turns out, there aren’t a whole lot of options out there for adjustable levers for Harley Davidson motorcycles. The fortunate part is that Roland Sands Designs came to the rescue with their Regulator lever set, so one option that exists comes from one of the best names in customizing.
 RSD Regulator Levers Overview
The biggest deal with the Regulator levers is that they’re adjustable. You can bring them in about half an inch, or move them out almost a full inch from the stock lever placement. This means if you have tiny hands or bear paws, you can make yourself comfortable.
Shop the Roland Sands Regulator Levers for 04-13 Harley Sportster
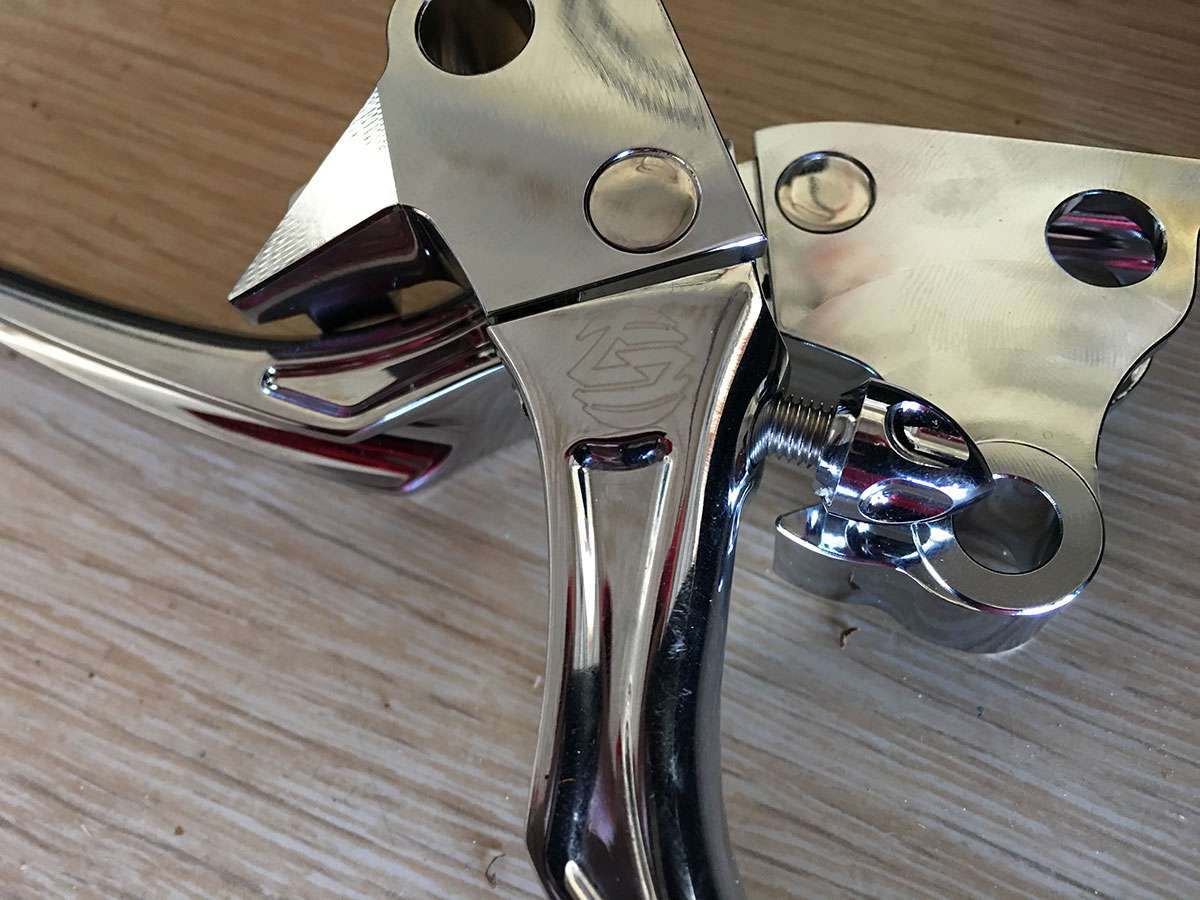
Beyond the adjustments, they’re a beautiful piece of kit to add to your bike. They’re CNC machined from aluminum, and they come in four flavors. I chose to go with straight chrome to compliment the existing work on the Sporty, but you can also go for the murdered out Black Ops, Machine Ops or my personal favorite Contrast Cut. The lever base is ever so slightly thinner than your stock ones, which allows for proper spacing if you are trying to slide in one of the textured models. But don’t worry, there’s a bushing included that holds them firmly in place via the pin. We’ll talk about this more in the install section.
Installing the RSD Regulator Levers
As I mentioned before, my install was on a Sportster. A 2007 XL1200 Low to be more precise. The levers are available for pretty much every model, but they are model specific to a degree so make sure to double check what you’re ordering.
Removing Sportster Clutch and Brake Levers
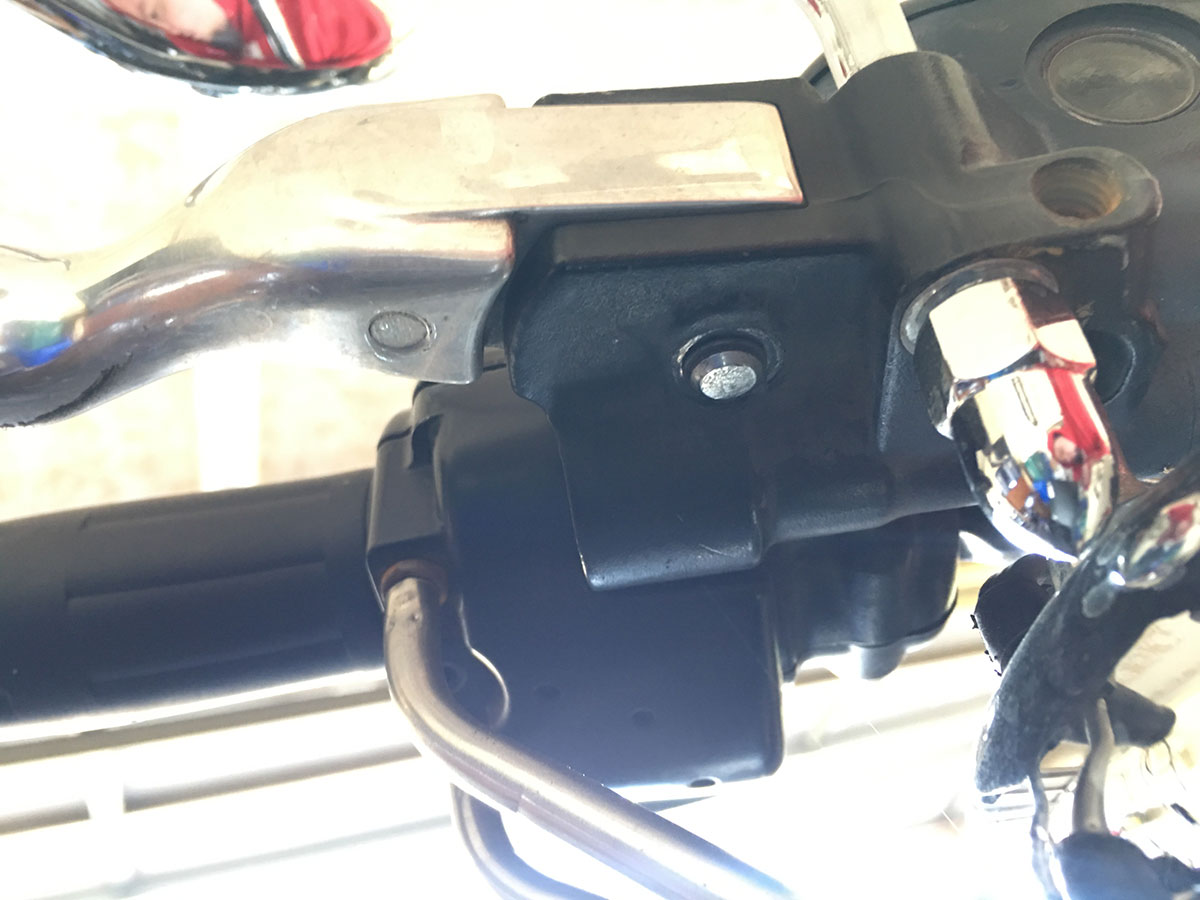
1. Remove the two T25 screws holding the control pod in place on the throttle side.
2. Split the control pod, allowing access to remove the brake lever.
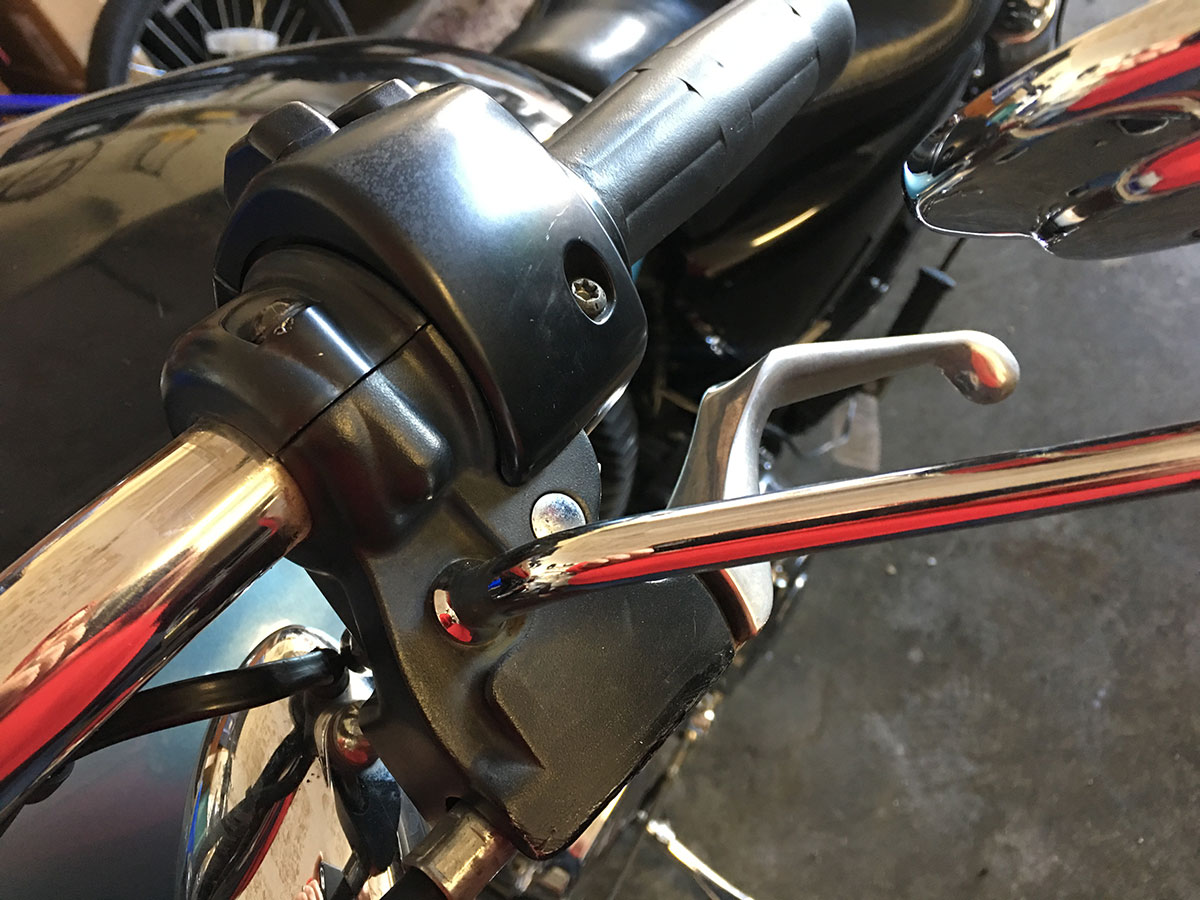
3. Remove the 7/16″ retaining clips from the pivot pins.
4. Slide the pivot pins out of the holes, and retain them for reuse.
5. Remove the brake lever.
6. Slide the protective boot up from the clutch adjustment nut.
7. Using two wrenches, unlock the jam nut.
8. Back off the cable adjuster until all tension is removed.
9. Pull the clutch lever in, allowing you to remove the cable from the lever assembly.
 Some points you’ll want to know:
Do yourself a favor and grab some extra 7/16 retaining rings from the hardware store, because you’re probably going to bend them to somewhere near unusable while trying to get them off. A set of retaining clip pliers is useful here, or you can just pop them off with a screwdriver.
It might be easier to leave the clutch side pin in place until you’ve removed the cable.
You only need to split the control pod on the throttle side. This is because the extension that actuates the brakes reaches into the pod and will prevent you from removing it from the assembly.
While you have your throttle side disassembled, this is a good time to give that area a cleaning. As you can see in my photos, there is a lot of buildup in the assembly, which can eventually lead to problems.
Installing Sportster Clutch and Brake Levers
We’re essentially just reversing the process, but here are the steps to follow, starting with the clutch side.
1. Slide the lever into position.
2. Install the included pivot pin bushing (Sporster XL models only).
3. Insert the pivot pin.
4. Install the retaining clip back on the pivot pin.
5. Reattach the clutch cable to the lever.
6. Adjust the clutch cable position back to factory specifications.
7. Slide the clutch adjustment boot back over the adjustment mechanism.
And now for the brake lever
7. Slide the brake lever into position.
8. Insert the pivot pin into the brake lever.
9. Install the retaining clip on the pivot pin.
10. Move the control pod back into place and install the T25 screws.
Adjusting the Lever Position
One thing that I really like about having adjustable levers on the Sporty is that my hand position is different on each side. I found that I like to have the clutch side moved out 1 or 2 notches, while I like the brake side pulled in 1 notch. The adjusting screw has indents so you can easily count where your preferred position sits. One thing to note, however, is that you might run into problems with the clutch friction zone if you want to pull your lever all the way in. Fortunately it’s an easy adjustment, but make sure to start the bike and have the brake pulled in before putting it into gear if you do decide to adjust the lever in toward the bar.
Parting Thoughts
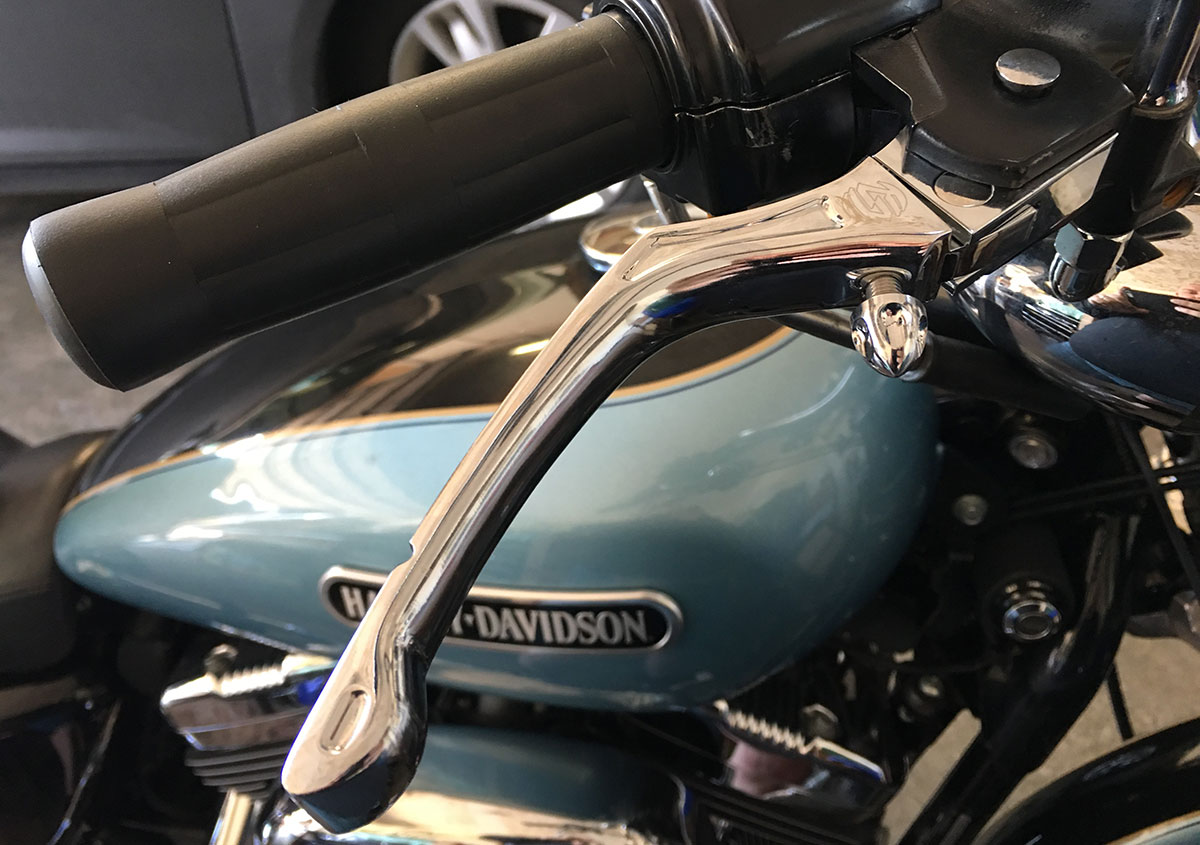
Like all RSD stuff, the Regulator levers are top notch for build quality. And speaking of notches, you’ll notice that they’re notched slightly, just a bit in from the tip. This is on purpose, and serves as a break point. If you drop your ride, or otherwise go down, this notch helps to ensure that the metal will break in a position that still gives you a functional lever.
With straightforward installation and a wide range of adjustment, the RSD Regulator levers for Harley-Davidson are another winner from the Roland Sands camp.


Any Idea where I can buy a replacement nut for the RSD Regulator leavers? Not on RSD website or anywhere else I’ve looked.